Ink Review: Noodler's Bad Belted Kingfisher
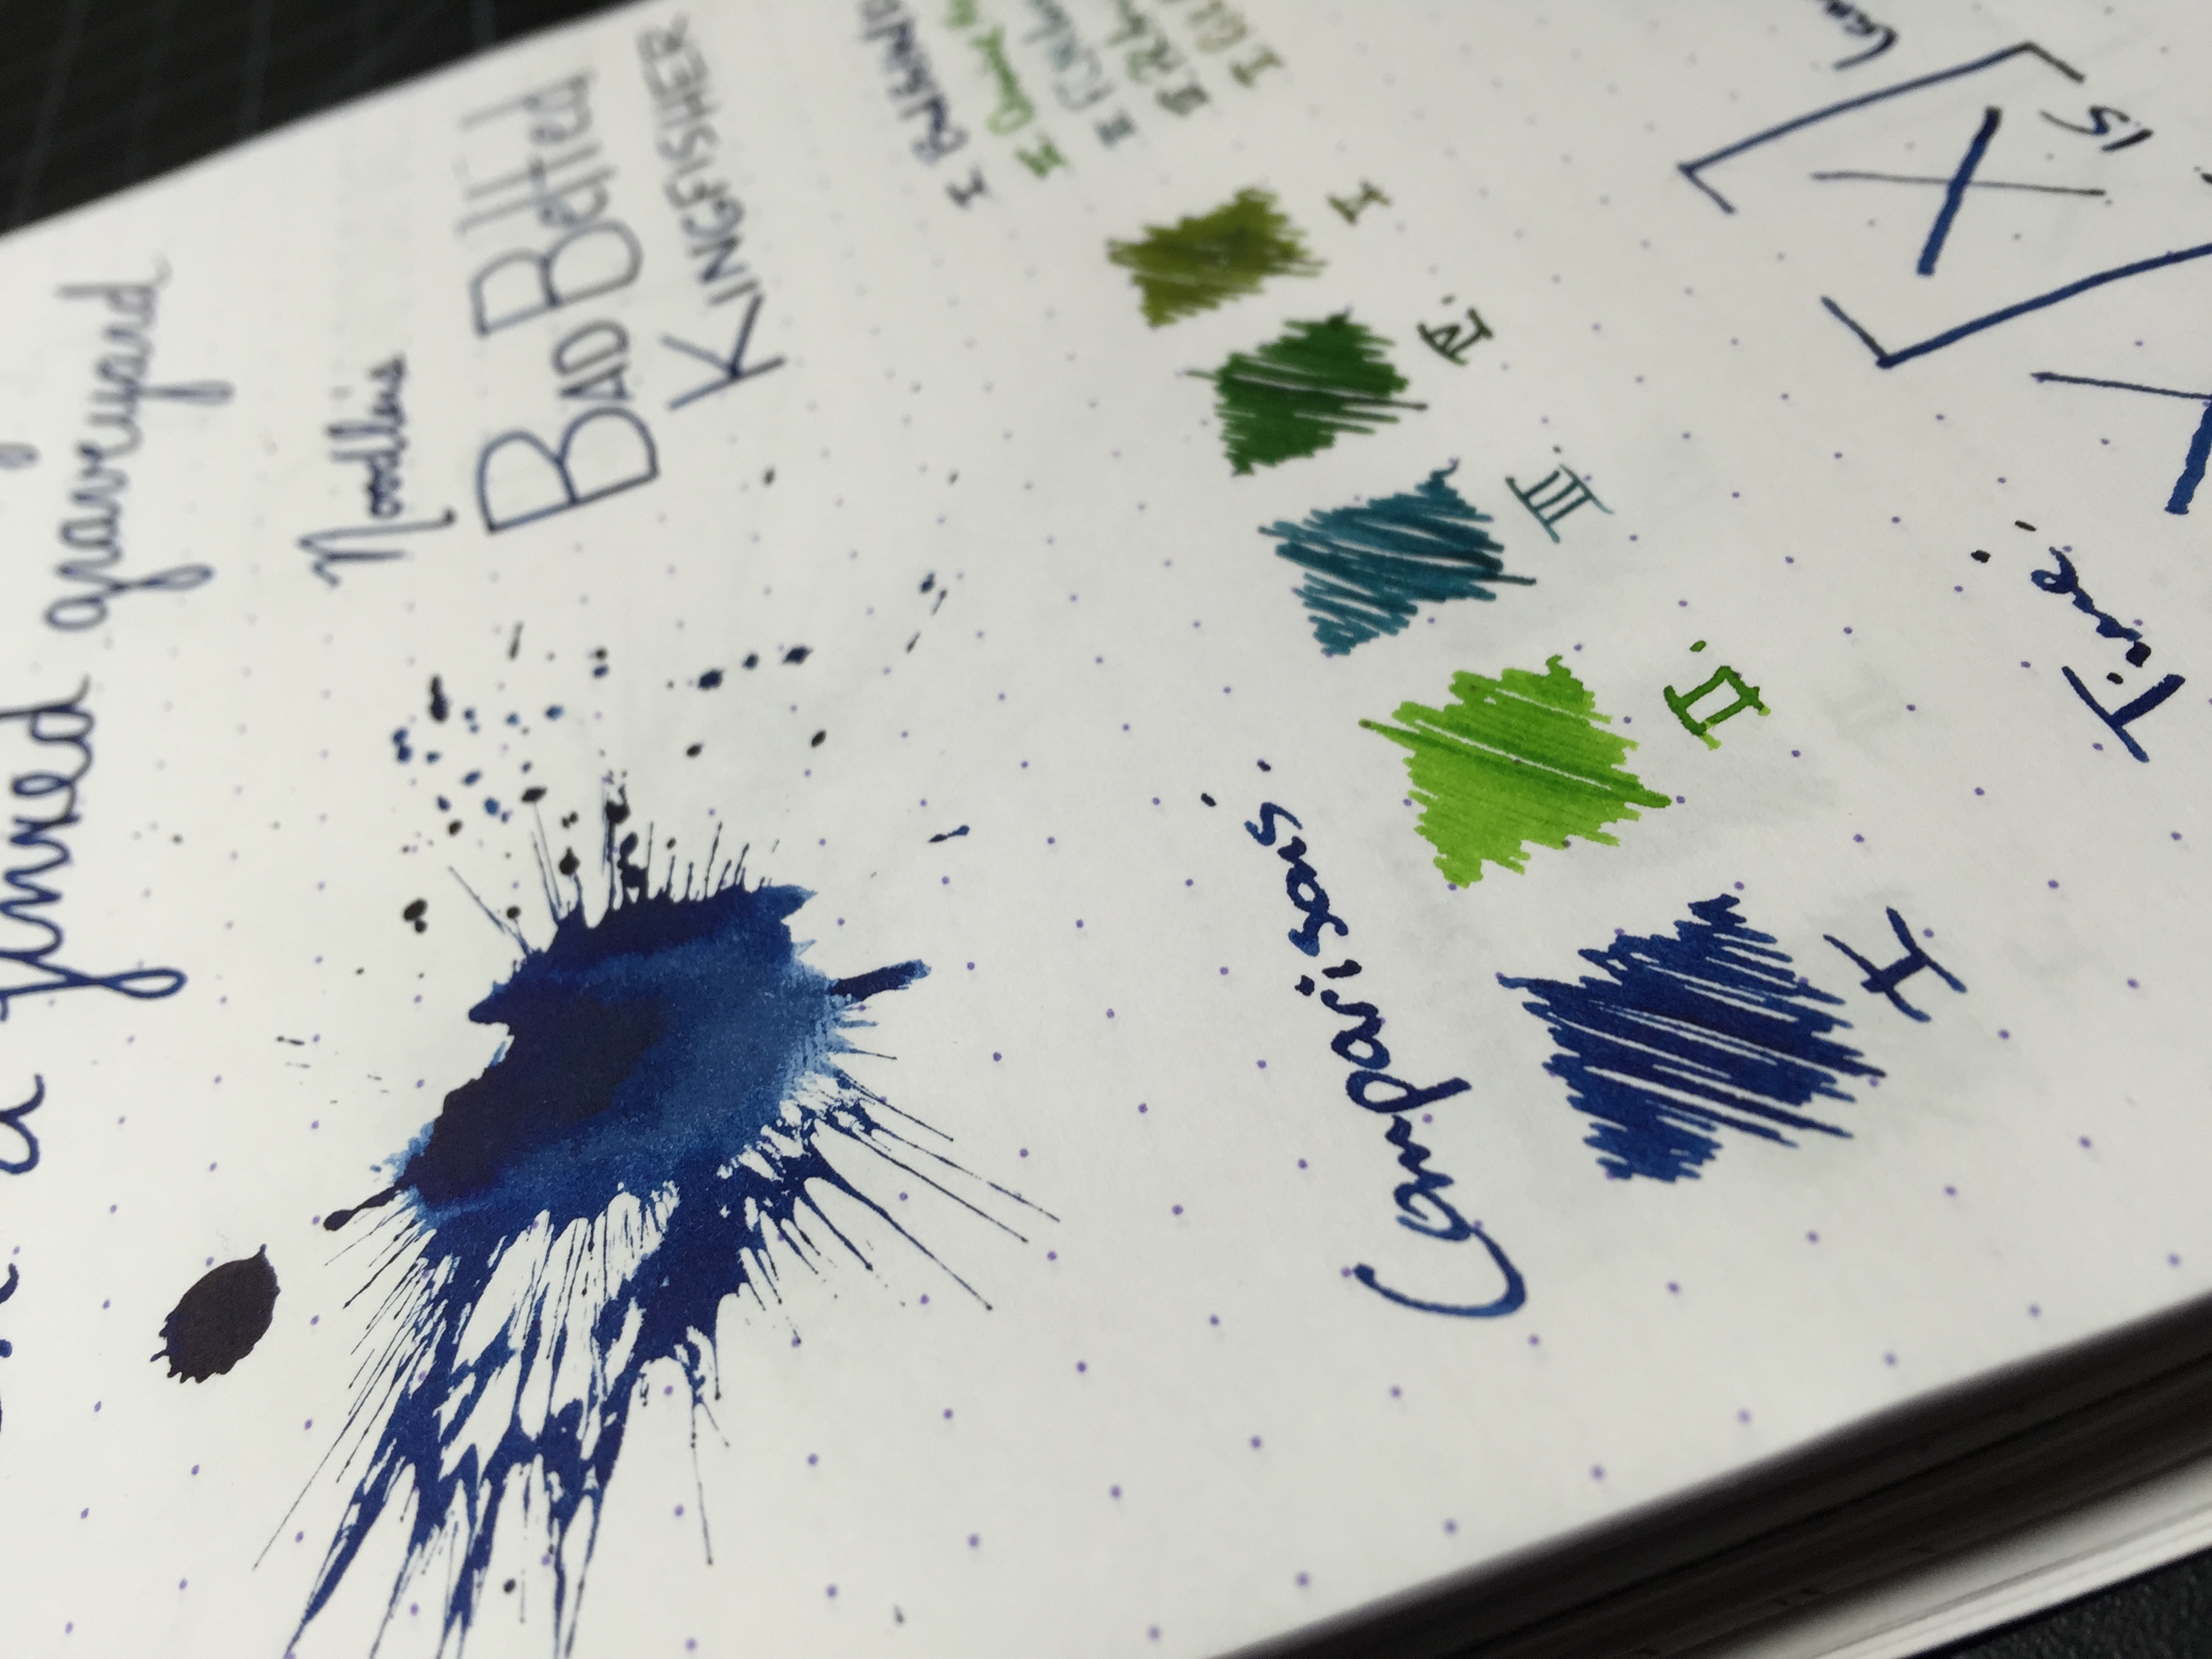
Noodler's Bad Belted Kingfisher
Pen: Lamy AL-Star 1.1 stub
Paper: Rhodia Dotpad 80gsm
Shading: low to moderate
Saturation: high
Flow: wet
Dry Time: 15 seconds
I recently tried another one of Noodler's warden series of inks - Bad Belted Kingfisher - when a family member visited who had it inked up in his pen. One of the more surprising things about this ink is how similar it looks to Bad Blue Heron, which is also part of the warden series. In fact when I used it I asked him, "Is this Bad Blue Heron?" That's one thing that's puzzled me about those two colors - why have a couple inks that are so similar to one another in the same line? They have black, green and blue covered, so I would have liked to see a red in the mix instead of a second blue - just my opinion though.
Nathan Tardiff created the Warden Series of inks to combat both currently existing forgery techniques, as well as ones that haven't actually been observed by law enforcement as of yet. The inks are what he calls "combination lock" inks, that have a set aging and component variable that are different on a per-bottle basis. Essentially they each have a unique fingerprint; this makes it impossible for a forger to have an ink exactly identical to your bottle, making the forgery process nearly impossible. In addition to the standard Bulletproof and washing-resistent properties that a lot of the Noodler's inks have, the Warden Series inks are also laser proof - pretty cool!
Bad Belted Kingfisher is a nice deep blue with a very high saturation level. It does a great job of not feathering on good paper, though if you lay it on thick like I did with my 1.1 stub, you'll get some ghosting on the back side of the page; no bleedthrough though. Compared to Bad Blue Heron, Kingfisher is a tad bit darker and more saturated, so there's less shading. Heron maintains a very similar color, but has more shading and overall variation depending on how your writing.
Bad Belted Kingfisher is a great forgery-resistant ink. If you already have Bad Blue Heron, I wouldn't bother picking up Kingfisher unless you're a completionist and want the whole warden set (trust me, I totally understand!). You can pick up a bottle from Goulet or a similar retailer for $12.50/3oz.
Thanks for reading!
Lori